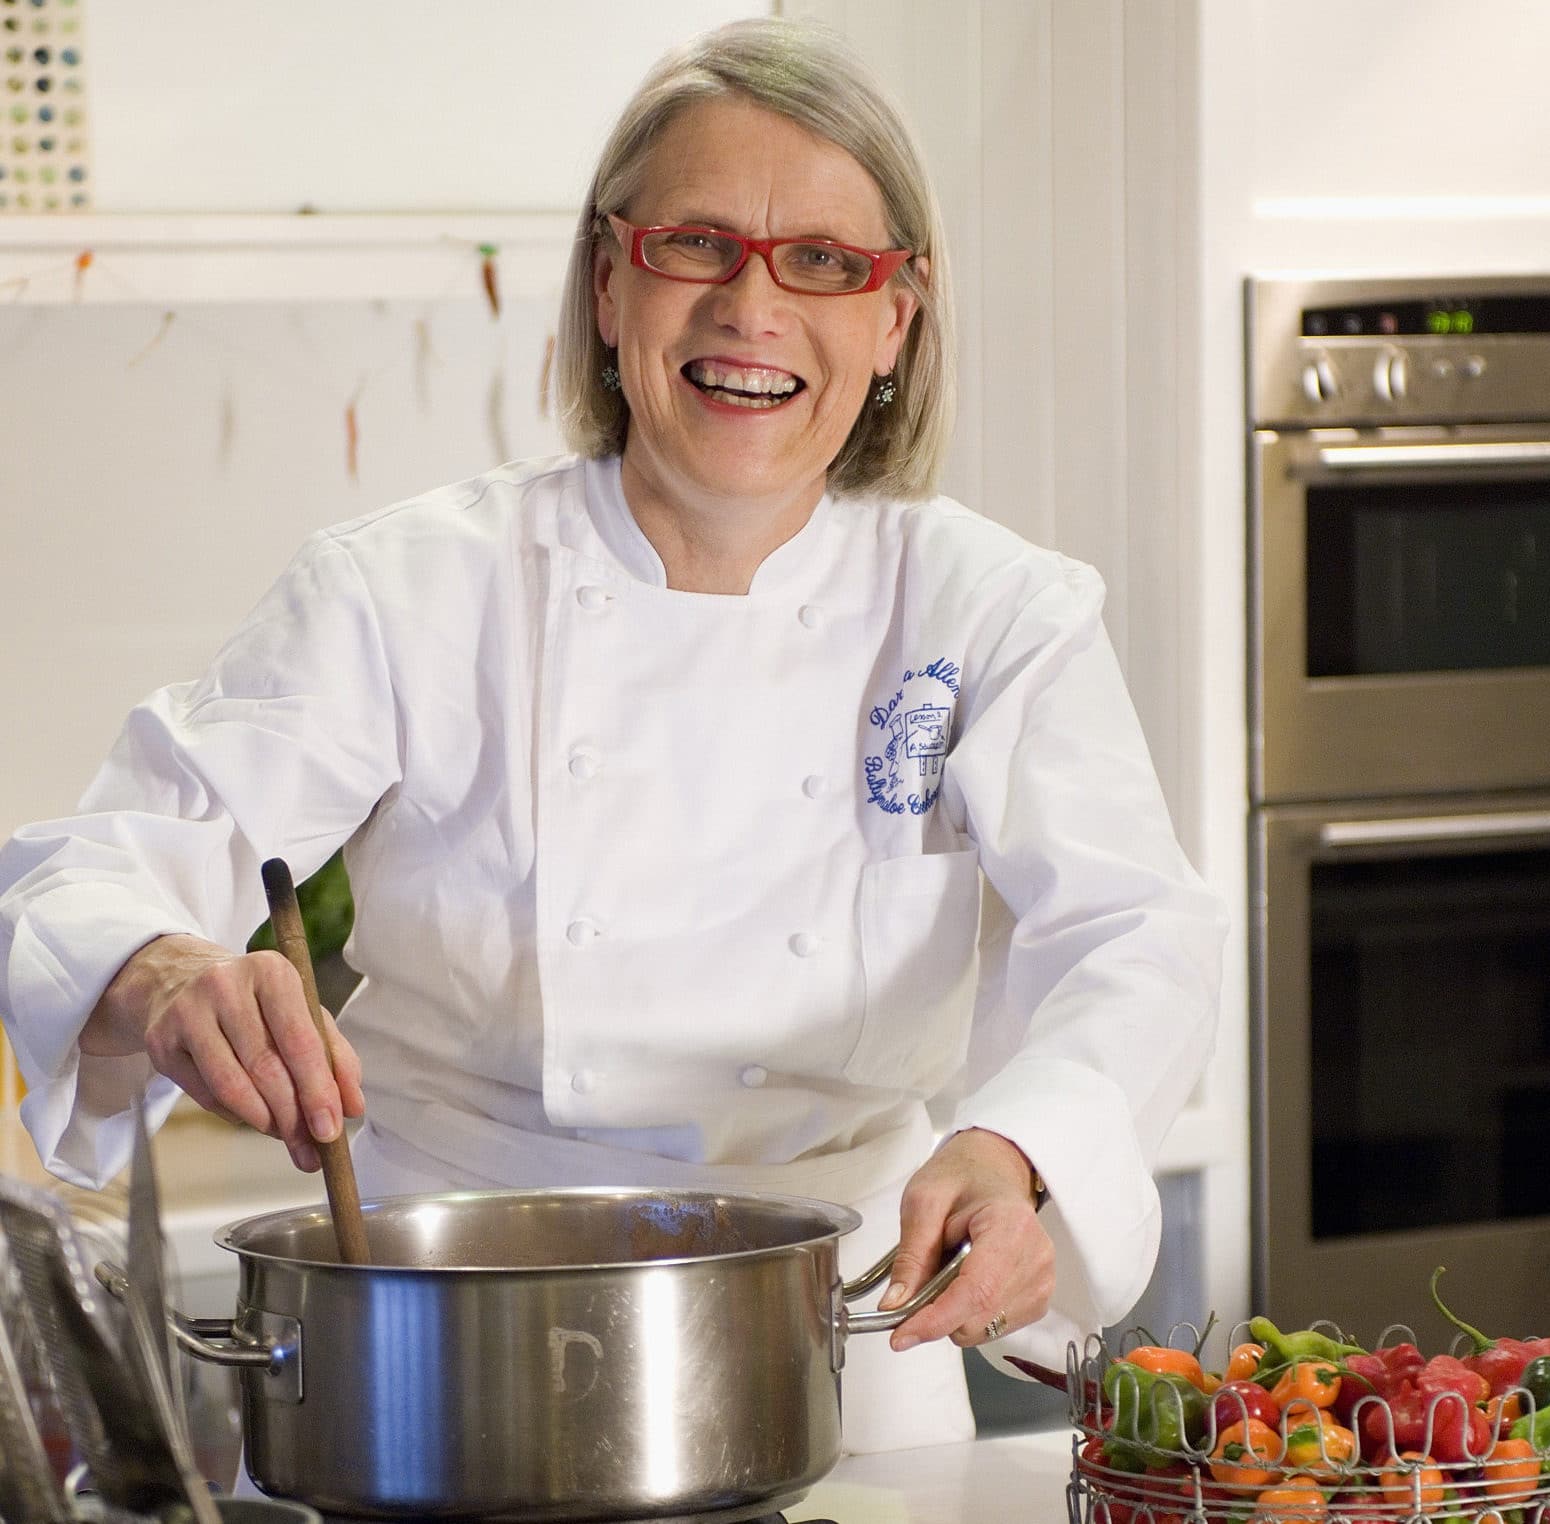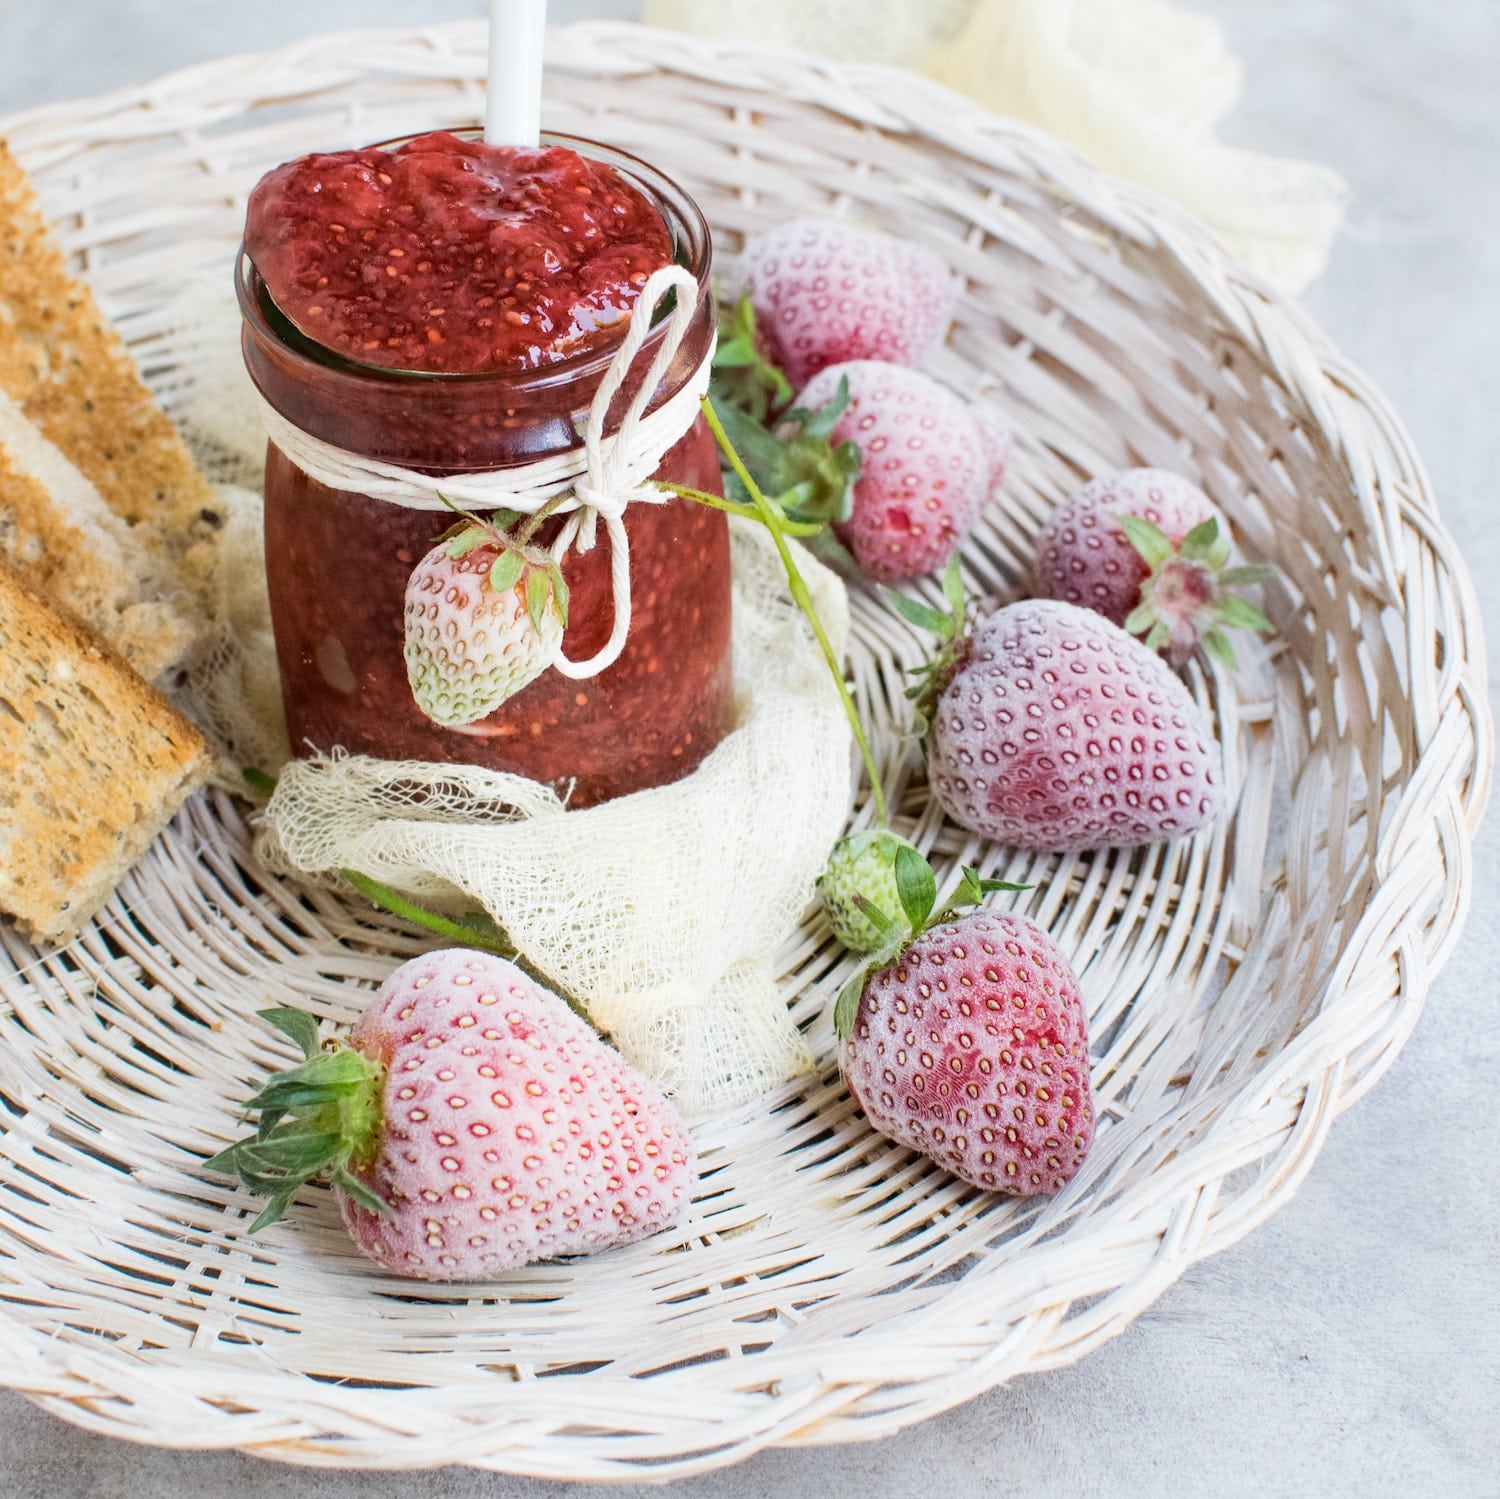
As the prolific growing season has begun, we look at ways of putting all the gorgeous tastes of the season into a jar! The Doyenne of Preserving, Darina Allen of Ballymaloe Cookery School, made time in her busy schedule at the cookery school for a quick chat about all the basics you need to make your own delicious jams and preserves at home. Here she gives us an insight into why she is a big preserving fan.
Preserving Was Part Of Daily Life When There Was Produce Available. It Was No Big Deal.
Preserving was always going on at home when we were children. Mummy always made jams and chutneys. We had lots of fresh produce in the garden, including a good selection of soft fruit. Plenty of blackcurrants, gooseberries, and damsons, and all these were made into a jam in big batches. Preserving was part of daily life when there was produce available. It was no big deal.
I remember when I first went to Ballymaloe House after hotel school and my now mother-in-law Myrtle Allen announced at almost midnight one night that we’d better make jam because the strawberries in the fridge wouldn’t last till the morning. I couldn’t believe my ears! The memories of the mammoth jam-making sessions from home came flooding back to me. I thought we’d be up all night!
But I was new and wanted to impress so I just asked how I could help. Myrtle asked me to weigh the fruit and called out instructions while she looked for jam jars and before I knew it we had jam. That’s when I realized it is very very easy to make your own jam. It’s best made in small batches which reach a set point in a matter of minutes. You don’t have to be making masses of jam at one time. You can make it with just one punnet of strawberries or raspberries.
Basic Preserving Equipment
I get asked a lot about preserving and people seem to think you need all sorts of specialist equipment but you don’t, It’s all very basic. Every kitchen should have a good stainless steel pan or preserving pan. It’s not just useful for jam and chutney but for cooking hams and all sorts of other jobs. A sugar thermometer is also useful for testing the setting point for jam.
It’s Important To Understand The Principles Of Preserving. If You Are Pickling You Want A Good Balance Of Salt, Sugar, Vinegar And Spices.
The temperature for setting should be 105C/250F. I often also use the saucer test for setting. You pour 1 tsp jam onto a cold saucer or plate and leave it to cool for a few minutes. If the surface wrinkles when pushed with a fingertip, the jam has reached the setting point. Test frequently so the fruit doesn’t overcook. If you like making fruit jellies you don’t really need jelly bags. I find a really good quality clean soft cotton shopping bag is absolutely brilliant, fantastic. Recycle all jars for jam. Your jars should be scrupulously clean, with any old labels removed and then sterilized. Do this by putting the clean jars in a hot oven Gas 4/180C/350F for ten minutes before filling. When you have filled the jars with jam, you can seal with a wax paper disc on the surface of the jam. Then add cellophane, dampened on one side, and pull tight over the top of the jar, and secured with an elastic band. If you are bottling fruit you need Kilner jars with rubber seals and metal clasps. Use a fresh seal every time and stand the filled jars in water with the lids on till they are sealed.
There are a few rules to follow for good preserves
It’s important to understand the principles of preserving. If you are pickling you want a good balance of salt, sugar, vinegar, and spices. For jam, the quality of the fruit is important. Good fruit will have natural pectin to help the jam set. People often ask me about jam sugar. I hate using it because it contains artificial pectin, which I find really affects the character of the jam. I always say if the fruit isn’t good enough to make jam without jam sugar you shouldn’t be making jam. Pectin is found in the skins and cores of fruit. Acidic fruit or slightly under-ripe fruit has a higher pectin content. Strawberry jam is one of the hardest to set because strawberries are low in pectin so the fruit must be of very good quality. Redcurrants have high pectin content and can be added to strawberries to help the jam set. They also enhance the flavour. Raspberry jam is one of the first jams I teach my students because it sets in five or six minutes. It’s so quick to make it’s even possible to make and bake a batch of scones and make the raspberry jam at the same time!
When you make the jam simmer the fruit before you add the sugar. Sugar must be completely dissolved before the jam comes to a boil otherwise it will crystallize on top of the jar. After dissolving the sugar it’s best to boil the jam rapidly till the setting point is reached. Skim the surface of the jam toward the end of cooking to remove any scum. A little scum on the surface can be easily dissolved with a knob of butter stirred in after the jam has reached the setting point.
It’s always great to talk to Darina Allen. Her practical approach to cooking never ceases to astound us. She really takes the worry out of cooking and with a few words from her we feel we have been led by the hand right into the kitchen! We’ll definitely be using Darina’s preserving advice for making our own jams this summer, especially now the soft fruit season has kicked in. There are lots more hints and tips on preserving and jam making in Darina Allen’s Ballymaloe Cookery Course and Forgotten Skills. Both great books and seriously useful in the home kitchen.
Visit Our Shop
Buy A Voucher


